Homemade Suckers
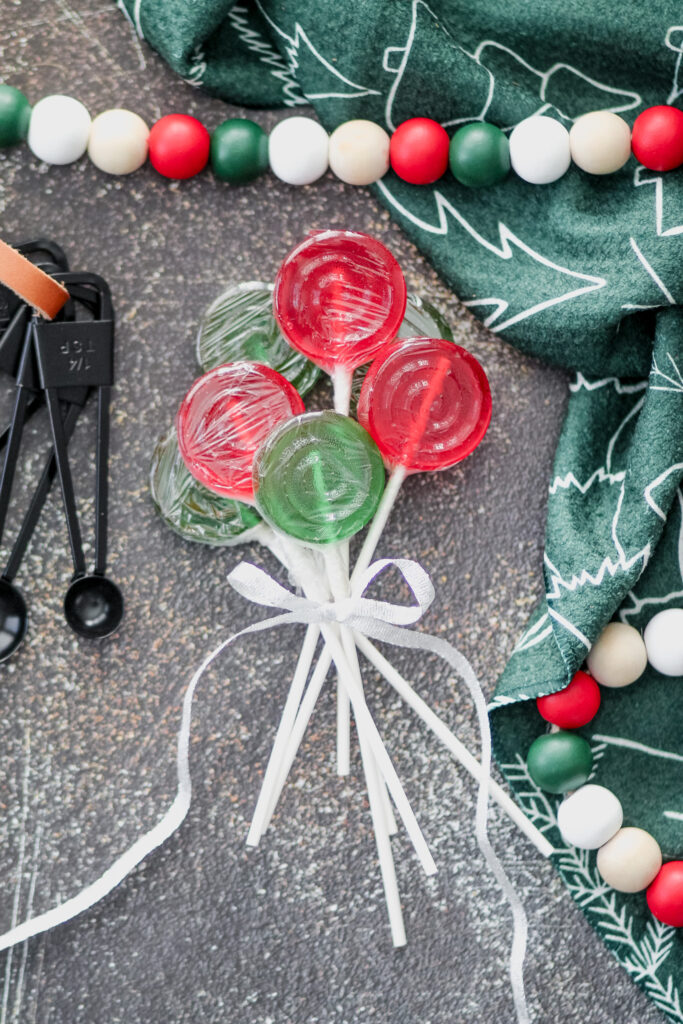
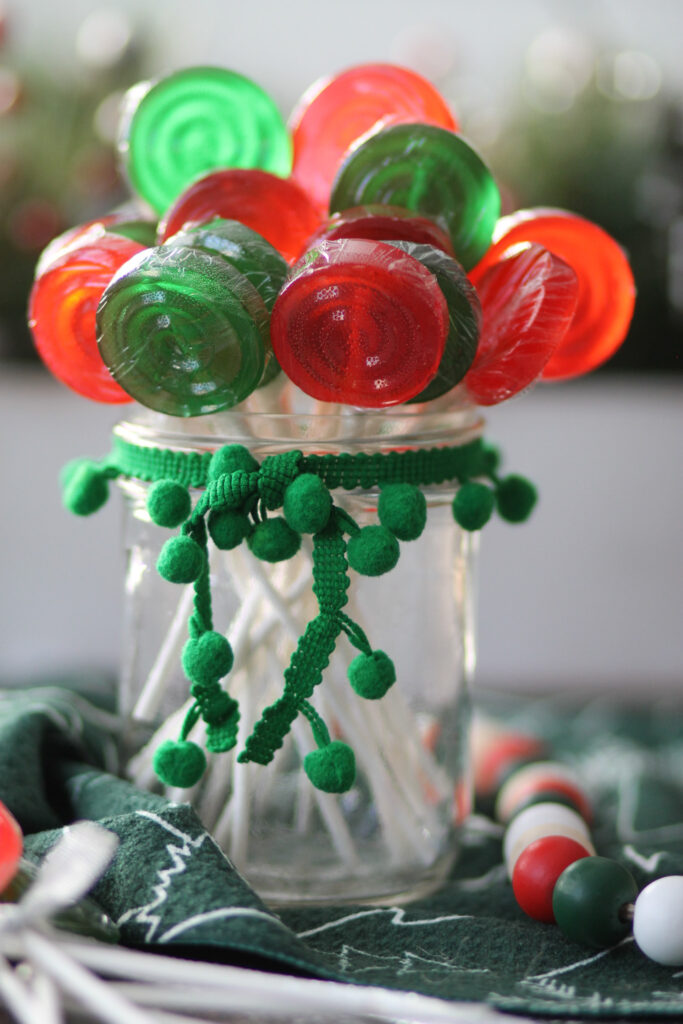
These delicious homemade suckers are such a fun treat to make and come together in less than 30 minutes from start to finish. They’re perfect for the holidays or just as a fun treat to make with family.
Homemade Sucker Recipe
It’s Christmas time which means I’m breaking out all the fun recipes that I have been wanting to make all year. This homemade sucker recipe is one of them. My kids love to cook with me, so we decided to make homemade suckers this year that they could take to school and give as gifts to their friends. So cute huh? These are so fun to make and enjoy or give as gifts and they’re seriously so yummy!
My oldest son told me, “This is the best sucker I’ve ever had,” so it’s safe to say these candy suckers are kid approved. They absolutely LOVE them and there are only 5 simple ingredients. I have listed in detail all my ingredients and tools that I use to make these suckers, so you’ll want to make sure to read the full post.
The Cowboys’ Rating: 10/10
Every time I make a new recipe, I have my family rate the recipe out of 10. By the time, these recipes make the blog, they’ve been tried and tested by some of my hardest tiny critics!
What Ingredients are in Homemade Suckers?
- Water
- White Sugar
- Corn Syrup – I used light Karo corn syrup.
- Hard Candy Flavoring Oil – There are many, many hard candy flavors and extracts to choose from, but I like to use hard candy flavoring oil. It’s stronger than extract and has a better flavor. The brand I used is called Dolce Flav Raspberry Flavor. I found it on Amazon, and you can find the link to it here. I have also used the brand LorAnn, and it is great to use as well.
- Food Coloring – You can use regular food coloring or gel food coloring to add fun colors to your homemade suckers.
Tools You’ll Need
- Measuring Cups
- Liquid Measuring Cup
- Saucepan
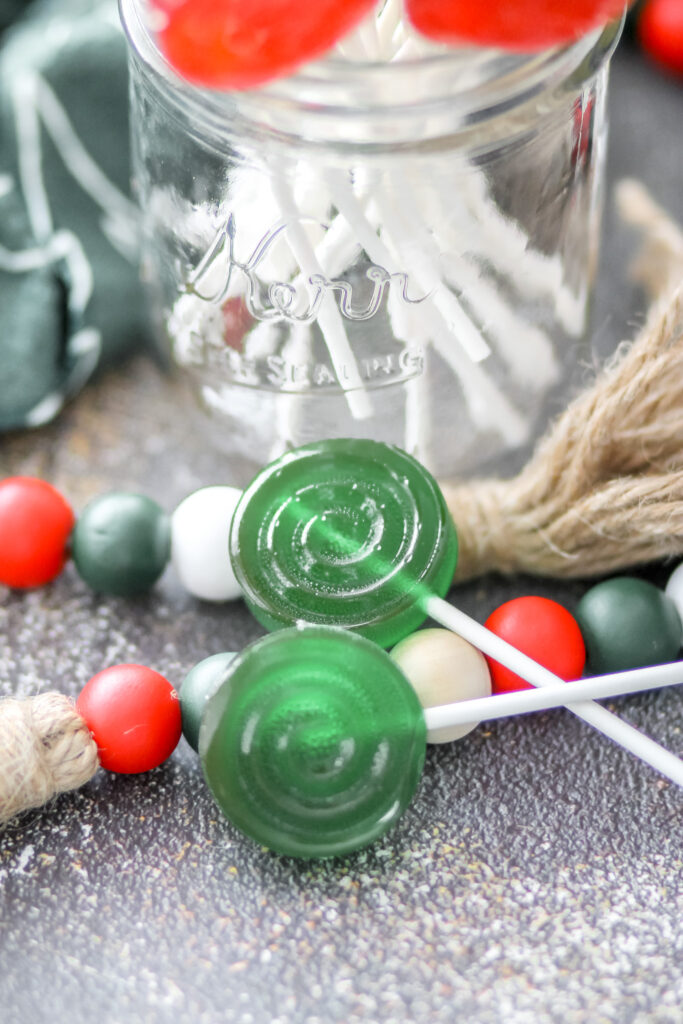
- Silicone Sucker Molds – You can use other candy molds, but these ones are my favorite. These make it really easy get the suckers out of the mold.
- Sucker Sticks
- Candy Thermometer (or regular digital food thermometer)
- Metal Whisk
- Plastic Wrap – I like to wrap the suckers individually in plastic wrap. I found that cutting the plastic wrap into little squares and then wrapping the suckers in the plastic wrap is actually the easiest way to do this.
- Baking Sheet (optional). This isn’t absolutely necessary, but I like to put the molds on a baking sheet so that in case I dribble a little, it’s not all over my counter.
How to Make Homemade Suckers
- On a baking sheet, lay out the candy molds and add sucker sticks to the molds. Press the sticks firmly down into the molds. Set aside.
- In a saucepan, combine water, sugar and corn syrup.
- Over medium high heat, bring to a boil.
- Using a candy thermometer, monitor the temperature frequently. Cook to hard crack stage (300 degrees).
- When it reaches 300 degrees, remove from heat and add candy flavoring and food coloring. Stir with a whisk for 1-2 minutes until well incorporated and smooth.
- Pour into sucker molds. (You’ll want to do this as quick as possible because it hardens fast.)
- Let the suckers sit for 10-15 minutes to harden fully.
- Remove from molds.
- Enjoy!
Tips and Tricks
Here are a few things that I have learned that might be helpful!
- Once the syrup mixture starts to boil, DO NOT stir it. When it first starts to boil, make sure to watch it carefully. If it looks like it is going to boil over, pick the saucepan up so that it’s not directly on the burner and let it settle. Once it settles (this only takes about 10-15 seconds) place it back on the burner and continue cooking.
- This might get a little messy when pouring into the molds. If some oozes out or drizzles outside of the mold, it’s just fine. Once they are fully hardened, you can easily break off these unwanted pieces.
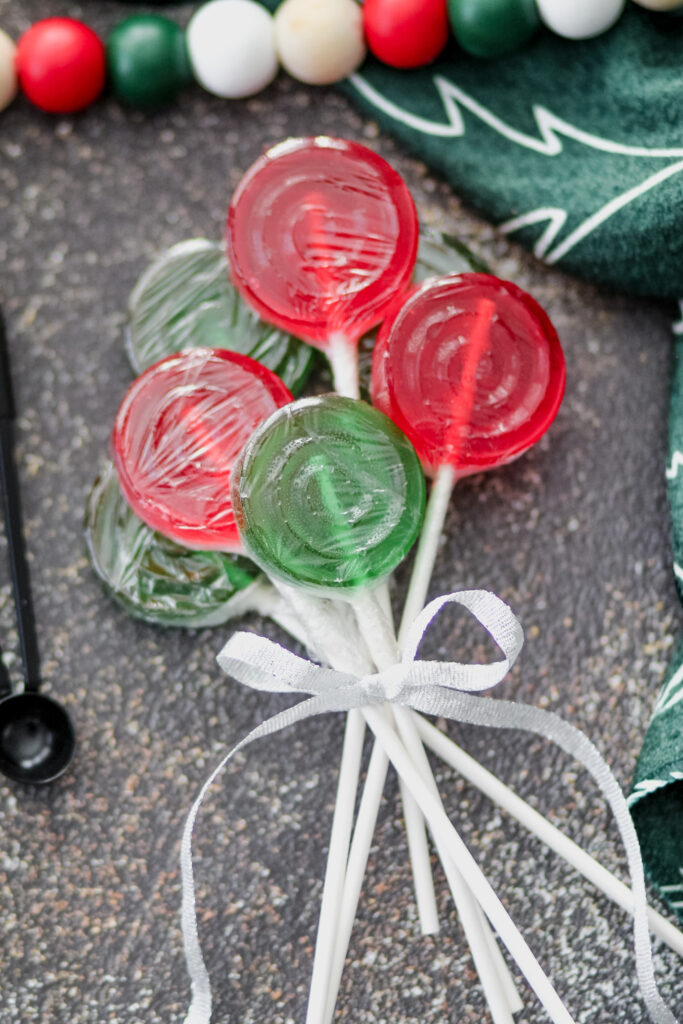
- I like to wrap my suckers individually in plastic wrap. Cut small squares of plastic wrap and then wrap the suckers tightly and twist the plastic wrap around the sucker stick. It makes it easy to get off but also preserves the suckers. Store them in a cool dry place and they can last for months!
- This one is important. To clean your saucepan afterwards, place some water in the saucepan and boil until the candy comes off. This will make things so much easier to clean up. If there is still some residue after boiling, simply run the saucepan under hot water and scrub lightly and the remaining residue will come off.
- You can use other molds to mix things up! The silicone molds are my favorite. If you use other silicone molds, just make sure they are heat resistant.
Gluten Free Homemade Suckers
I’m so happy to share that this recipe is gluten free! I do always caution to double check your ingredients to make sure that the ingredients YOU use are gluten free.
Freshly Made on the Blog
Homemade Suckers
Equipment
Ingredients
- 1 cup water
- 2 cups sugar
- 2/3 cup corn syrup
- food coloring
- 5 ml candy flavoring oil
Instructions
- On a baking sheet, lay out the candy molds and add sucker sticks to the molds. Press the sticks firmly down into the molds. Set aside.
- In a saucepan, combine water, sugar and corn syrup.
- Over medium high heat, bring to a boil.
- Using a candy thermometer, monitor the temperature frequently. Cook to hard crack stage (300 degrees).
- When it reaches 300 degrees, remove from heat and add candy flavoring and food coloring.
- Stir with a whisk for 1-2 minutes until well incorporated and smooth.
- Pour into sucker molds. (You'll want to do this as quick as possible because it hardens fast.)
- Let the suckers sit for 10-15 minutes to harden fully.
- Remove from molds.
- Enjoy!

