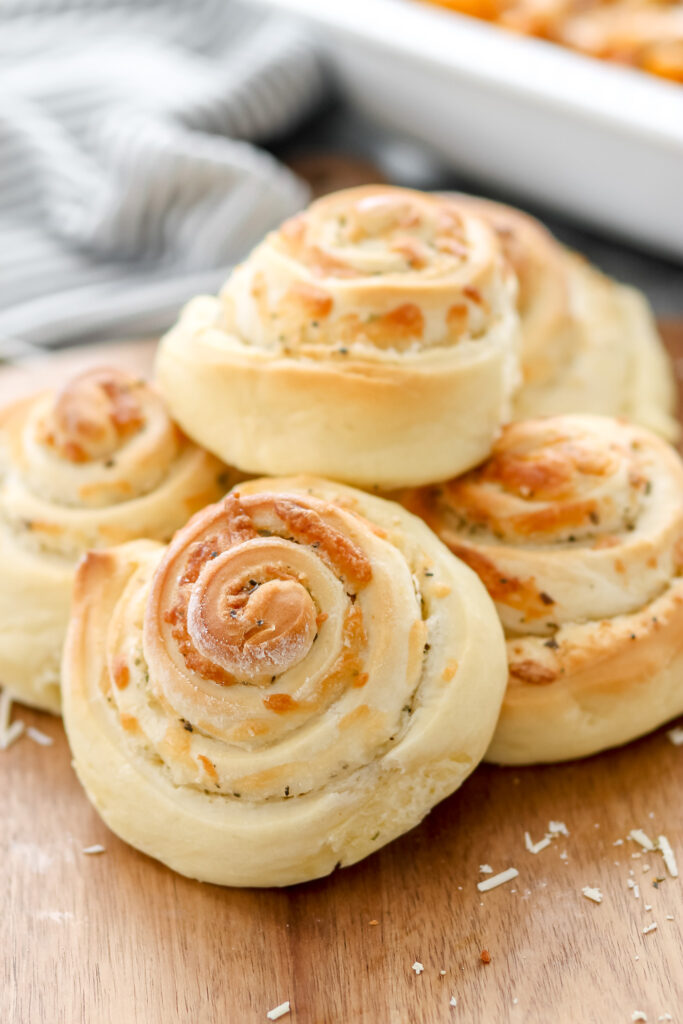
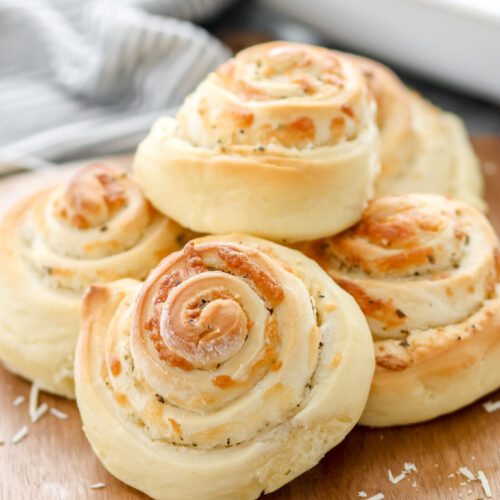
Easy Cheesy Garlic Rolls
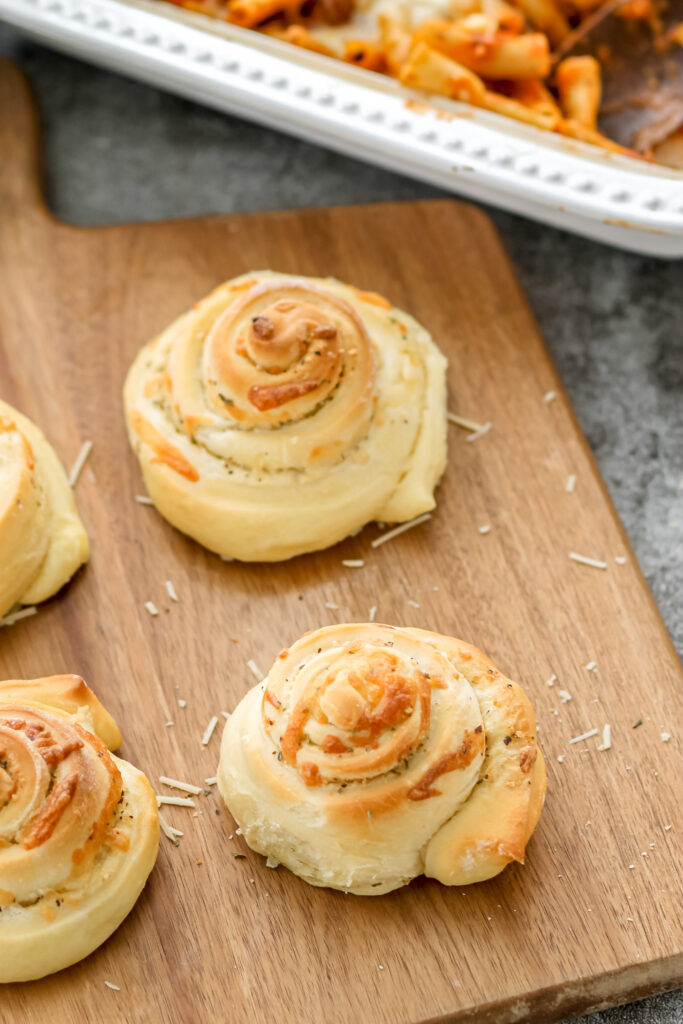
This easy cheesy garlic rolls recipe makes the softest, most buttery rolls filled with melty cheese and garlicky goodness — perfect for any family dinner or holiday table. They come together quickly and pair perfectly with pasta, soup, or any cozy weeknight meal.
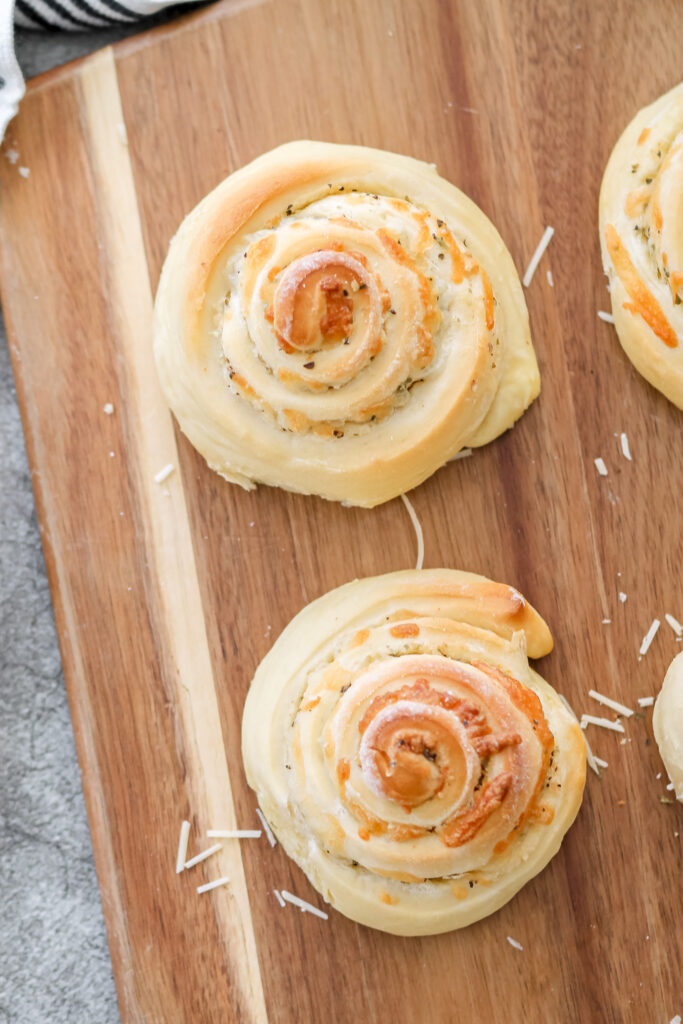
Cheesy Garlic Rolls
Out here on the ranch, dinner needs to be hearty, comforting, and quick to pull together — and these cheesy garlic rolls check all the boxes. As a busy wife and mom of four, I don’t have time for fussy recipes, but I still love serving something that feels special. These rolls come together fast, taste buttery and garlicky, and pair perfectly with whatever’s on the table — from a big pot of soup to Sunday dinner after a long day.
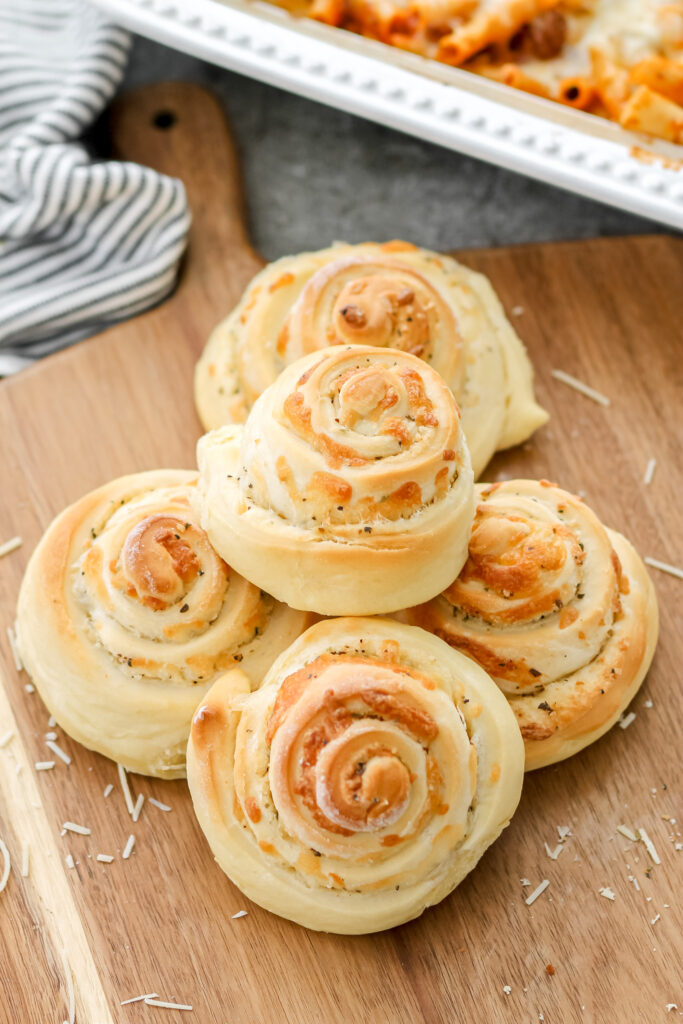
If you have picky eaters, I promise they will love these rolls. They are soft, slightly garlicky with a hint of herbs and filled with cheese. The flavors complement each other and aren’t overpowering for kids who have tender taste buds. Even my two-year-old is a fan of these.
The Cowboys’ Rating: 10/10
Every time I make a new recipe, I have my family rate the recipe out of 10. By the time, these recipes make the blog, they’ve been tried and tested by some of my hardest tiny critics!
What Ingredients Are in Cheesy Garlic Rolls?
- All-Purpose Flour or Bread Flour – For years I used all-purpose flour, and this recipe turned out beautifully. Recently, I have been experimenting with bread flour, and I haven’t really noticed any difference. You can use either for this recipe.
- Yeast – The yeast that I use for this homemade bread recipe is active dry yeast.
- Warm Water – I don’t ever check the temperature of the water (because who has time for that), but just make sure it’s lukewarm water so that it activates the yeast.
- Egg – The egg helps bind the dough together and makes the rolls soft and fluffy.
- White Sugar – Sugar helps the texture and flavor of the rolls. Additionally, it also helps the rolls rise so it has a fluffier consistency.
- Honey – Honey is a natural sweetener but also helps the rolls brown faster in the oven.
- Salted Butter – Butter creates this dense and flavorful bread that makes you want to eat all of them before dinnertime.
- Salt – Salt is very important for rolls. It has a few roles in making homemade rolls turn out. First, it helps to control the rate of yeast fermentation which is very important. Additionally, it strengthens the gluten in the rolls. And finally, it helps with taste! If you have every tried rolls that the salt has been left out of, it is not good!
- Nonfat Dry Milk – I have always used nonfat dry milk instead of regular milk in bread recipes. I swear by it. I think that it gives the bread a better, fluffier consistency.
- Grated Parmesan Cheese – Make sure to get the grated parmesan cheese. It adds the best salty, cheesy flavor and helps the rolls bake up perfectly golden every time.
- Mozzarella Cheese – To get those delicious, gooey, cheesy rolls, I load these rolls with mozzarella cheese. It’s honestly a sin how good they are.
- Butter
seasonings
- Kosher Salt
- Garlic Powder
- Oregano
- Basil
Tools You’ll Need
- I always use my KitchenAid to make bread, but you can use a Large Mixing Bowl with a Danish Dough Hook
- Measuring Cups & Spoons
- Liquid Measuring Cup
- Spatula
- Bread Scraper
- 18 x 13″ Large Baking Sheet Pan
- Flour Sack Dish Towels to cover dough
- Pizza Cutter
Cheesy Garlic Rolls Recipe
- Preheat oven to 350 degrees F.
- In a bowl, combine warm water, yeast and sugar together. Gently combine then set aside and let sit for 5 minutes until frothy.
- In a separate large bowl or stand mixer, add dry ingredients.
- Add water and yeast mixture along with egg, 3 tbsp softened butter and honey to the dry ingredients.
- Begin mixing ingredients together to form a soft dough. Continue kneading or mixing for another 2-3 minutes. When done, the dough should be slightly sticky to the touch.
- Cover the dough with a towel and let rise until double in size (about an hour).
- Before working the dough, mix together the parmesan cheese and seasonings and set aside.
- Once dough has risen, generously flour a surface on the counter and scape the dough out of the bowl and onto the floured surface.
- Knead a few times, then set aside.
- Generously spray two large baking sheet pans with cooking spray and set aside.
- Roll out the dough into a large circle.
- Using a spatula or the back of a spoon, evenly spread the ¼ cup softened butter over the entire surface of the dough.
- Sprinkle the parmesan and seasoning mixture even over the dough followed by the mozzarella cheese.
- Using a pizza cutter, cut the dough into 12 long, equal strips.
- Take one strip and start rolling it up from one end, keeping the roll snug but not too tight, then transfer to the baking sheet pan. You want it to hold its shape without squeezing out all the filling.
- Repeat this process until all rolls have been made making sure to leave room on the baking sheet for the rolls to expand while baking.
- Bake for 20-25 minutes until crescent rolls are golden brown. You can lightly tent the top with foil halfway through if they’re browning too fast before the centers are done.
- Remove from heat and let cool.
- Serve and enjoy!
Storage and Freezing
I store my garlic rolls in a gallon Ziploc bag on the in the fridge. To reheat them, I just pop them back in the oven for a few minutes at 350 degrees F or you can microwave them for a few seconds.
These garlic rolls can also be frozen. Place them in a large Ziploc bag and press out as much of the air as possible. Store in the freezer for up to 3 months.
To thaw out the garlic rolls, I just take them of the freezer and let thaw on the counter still in the bag. As they come to room temperature, they will absorb the moisture in the bag and be perfectly moist and delicious.
Try More of My Easy Recipes


Easy Cheesy Garlic Rolls
Equipment
- stand mixer (or large bowl + Danish dough hook)
- Large Baking Sheet Pan (18×26 inches)
- Rolling Pin
Ingredients
- 1 cup warm water
- 1 tbsp active dry yeast
- 1 tsp sugar
- 2 tbsp honey
- 3 tbsp butter (softened to room temperature)
- 1 small egg
- ⅓ cup nonfat dry milk
- ½ tsp salt
- 3 cups flour
Garlic Roll Filling
- ¼ cup butter, (softened to room temperature)
- ⅛ cup grated parmesan cheese
- ½ tsp kosher salt
- ½ tsp garlic powder
- ½ tsp oregano
- ½ tsp basil
- 2 cups shredded mozzarella cheese
Instructions
- Preheat oven to 400 degrees F.
- In a bowl, combine warm water, yeast and sugar together. Gently combine then set aside and let sit for 5 minutes until frothy.
- In a separate large bowl or stand mixer, add dry ingredients.
- Add water and yeast mixture along with egg, 3 tbsp softened butter and honey to the dry ingredients.
- Begin mixing ingredients together to form a soft dough. Continue kneading or mixing for another 2-3 minutes. When done, the dough should be slightly sticky to the touch.
- Cover the dough with a towel and let rise until double in size (about an hour).
- Before working the dough, mix together the parmesan cheese and seasonings and set aside.
- Once dough has risen, generously flour a surface on the counter and scape the dough out of the bowl and onto the floured surface.
- Knead a few times, then set aside.
- Generously spray two large baking sheet pans with cooking spray and set aside.
- Roll out the dough into a large circle.
- Using a spatula or the back of a spoon, evenly spread the ¼ cup softened butter over the entire surface of the dough.
- Sprinkle the parmesan and seasoning mixture even over the dough followed by the mozzarella cheese.
- Using a pizza cutter, cut the dough into 12 long, equal strips. Take one strip and start rolling it up from one end, keeping the roll snug but not too tight, then transfer to the baking sheet pan. You want it to hold its shape without squeezing out all the filling.
- Repeat this process until all rolls have been made making sure to leave room on the baking sheet for the rolls to expand while baking.
- Bake for 20-25 minutes until crescent rolls are golden brown. You can lightly tent the top with foil halfway through if they’re browning too fast before the centers are done.
- Remove from heat and let cool.
- Serve and enjoy!