Homemade Buttermilk Biscuits
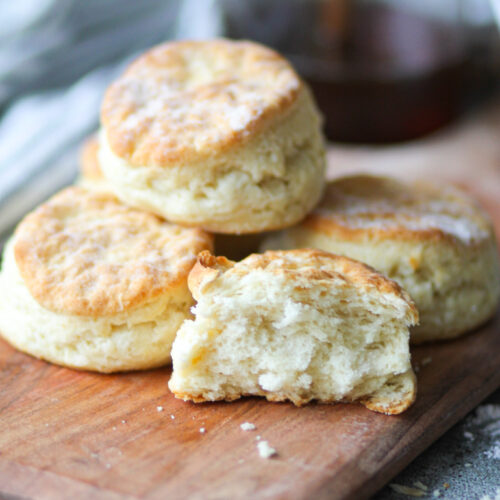
Making homemade biscuits is easier than you think with this simple recipe! These homemade buttermilk biscuits are flaky, moist, and fluffy, and everything that a biscuit should be. You’ll never want to go back to canned version again.
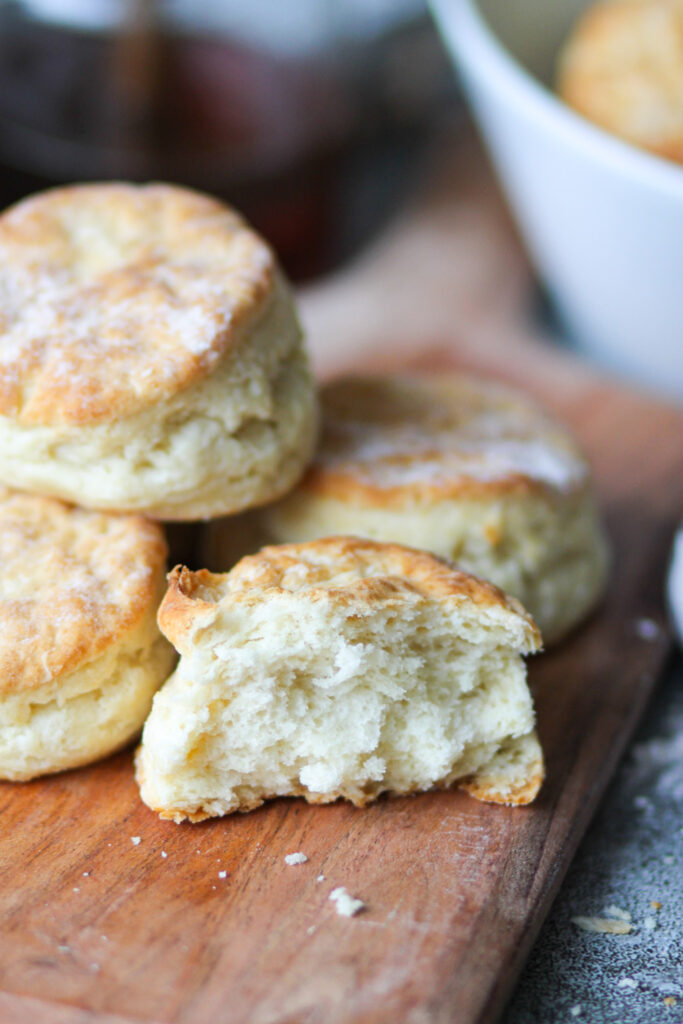
Homemade Buttermilk Biscuit Recipe
I know I keep saying this, but I’m convinced that food is just better when it’s homemade. Taking the extra time to make these buttermilk biscuits is worth every second! They’re light and airy and packed full of flavor. They’re just so savory and delicious!
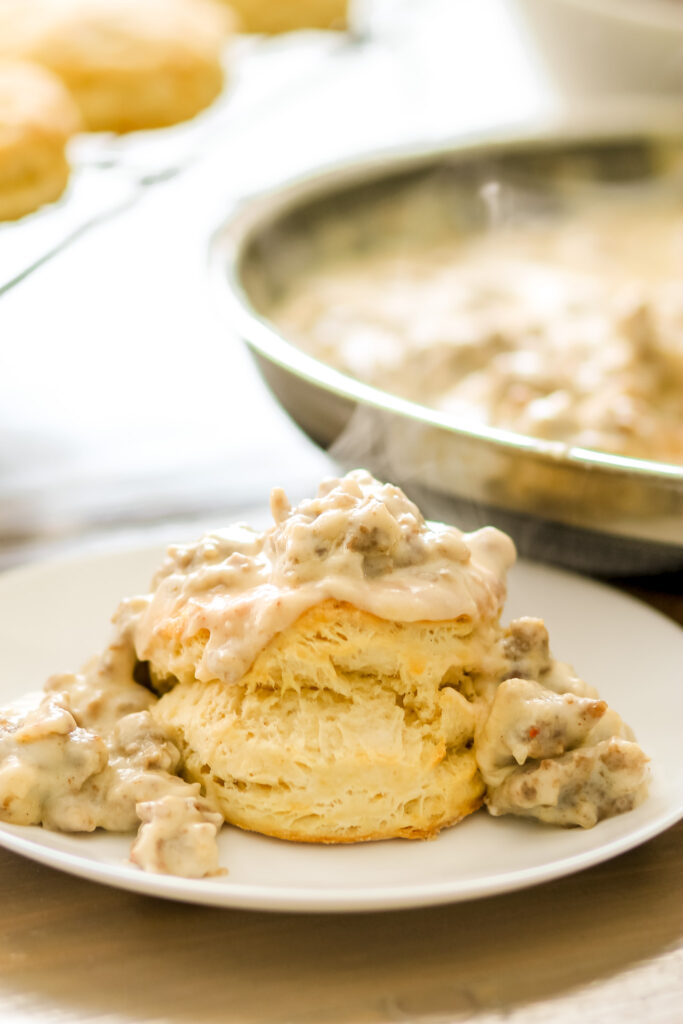
So, my oldest son loves biscuits and gravy. It’s his very favorite meal. He always asks me to make my homemade buttermilk biscuits and sausage gravy for dinner. (You can get the full recipe for my sausage gravy here.) It sounds like these biscuits would be labor intensive, but it really isn’t. This recipe for easy buttermilk biscuits comes together quickly and only take about 10 minutes to cook. And I promise, it is worth the extra effort.
The Cowboys’ Rating: 10/10
Every time I make a new recipe, I have my family rate the recipe out of 10. By the time, these recipes make the blog, they’ve been tried and tested by some of my hardest tiny critics!
What Ingredients are in Homemade Buttermilk Biscuits?
- All Purpose Flour
- Baking Soda -Baking powder is a leavening agent. This is important in this recipe because it allows the biscuits to rise and become fluffy.
- Baking Powder – Baking powder is also a leavening agent. Adding baking powder to these biscuits helps to achieve the light and airy texture.
- Salt – Salt not only adds flavor but also reacts with the baking soda and powder to create tenderness within the biscuit.
- Sugar – Adding a hint of sugar gives these biscuits a subtle sweetness.
- Buttermilk – These wouldn’t be buttermilk biscuits without buttermilk, obviously. Buttermilk is tart which actually works well with the baking soda to produce a gas that gives biscuits an extra lift. Additionally, it makes biscuits flakier.
- Butter – Cold salted butter is what I use for this recipe. This gives flavor and moisture to the biscuits. I also grate the butter using a cheese grater. This helps to incorporate the butter evenly throughout the dough.
Tools You’ll Need
- Mixing Bowl
- Measuring Cups & Spoons
- Cast Iron Skillet or Baking Sheet
- Pastry Cutter
- Biscuit Cutter
- Danish Dough Whisk
- Cheese Grater
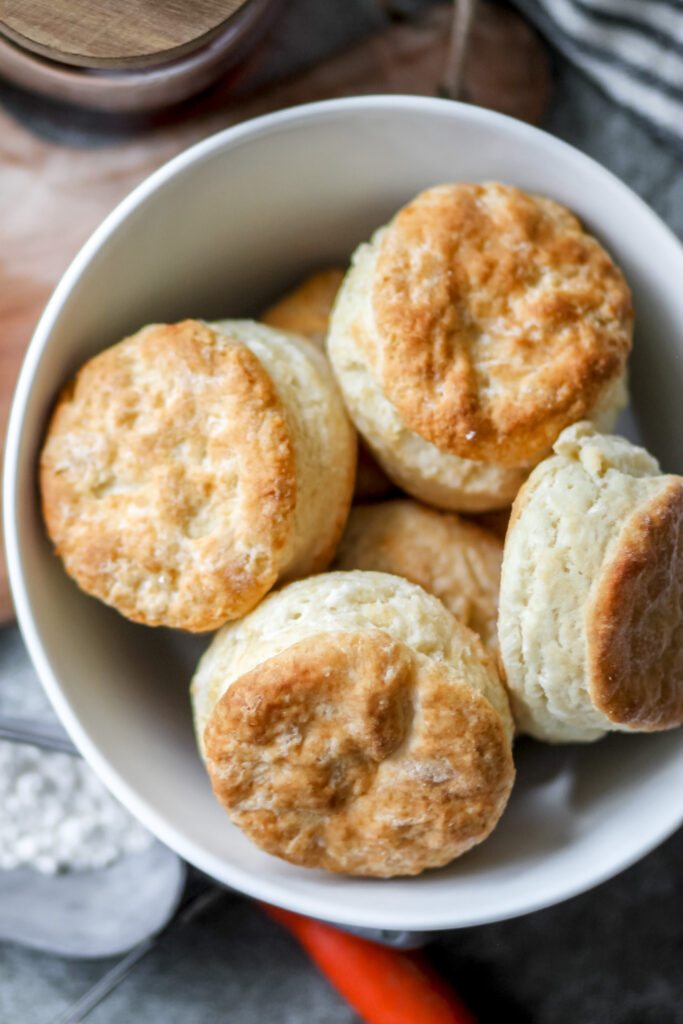
How to Make Homemade Buttermilk Biscuits
- Preheat oven to 450 degrees F.
- In a mixing bowl, combine flour, baking soda, baking powder, sugar and salt and mix well.
- Using a cheese grater, grate cold butter into the dry ingredients.
- Using a fork or pastry cutter, work the butter into the dry ingredients until the butter is well incorporated. It will look crumbly.
- Slowly pour the buttermilk into the dry ingredients a little at a time while whisking with a Danish dough whisk or fork. Mix until just incorporated.
- Generously flour an area on a flat surface to roll out the biscuit dough.
- Scrape the dough out of the mixing bowl and onto the floured surface.
- Lightly flour the top of the dough, then fold the dough in half. Gently repeat this process about 4-5 times. (This makes those delicious flaky layers. You do not want to over work the dough, it will cause your biscuits to be hard instead of light and fluffy.)
- Gently pat the dough down in a large circle until the dough is about 1/2″ – 3/4″ thick. (Do not use a rolling pin.)
- Using a biscuit cutter, cut out biscuits and place in the bottom of a greased cast iron skillet or baking sheet.
- Once all biscuits have been cut out and placed in the skillet, bake for approximately 8-10 minutes until the tops of the biscuits are golden brown.
- Remove from heat and let cool.
- Enjoy!
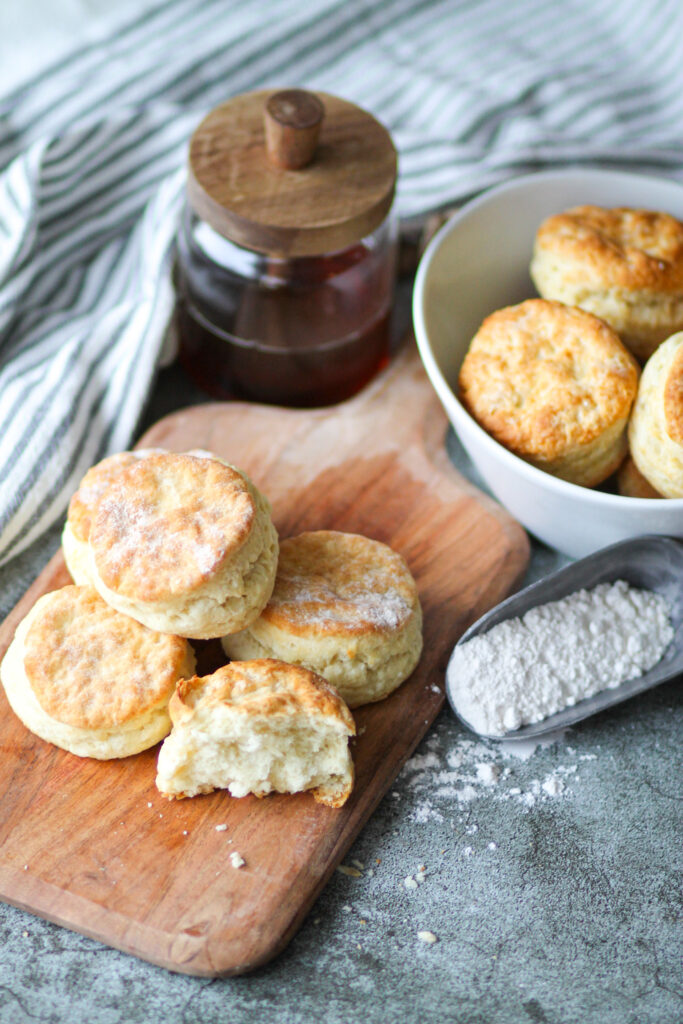
Gluten Free Homemade Buttermilk Biscuits
This recipe can be adapted to make it gluten free by switching out the flour. Here is what I use to make these homemade buttermilk biscuits gluten free.
Bob’s Red Mill Gluten Free Flour
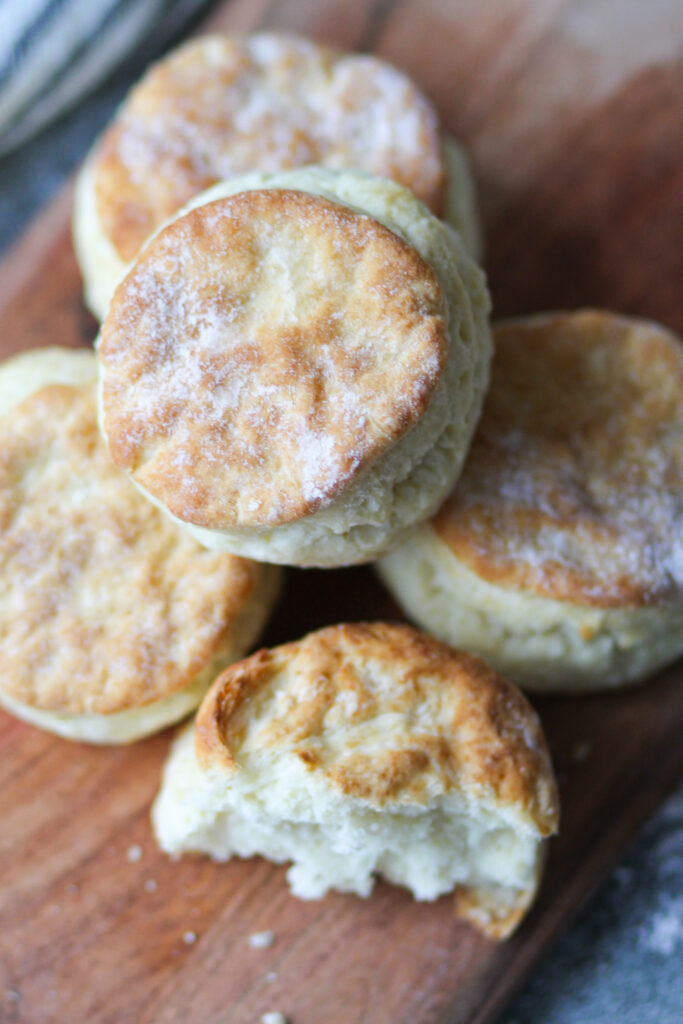
How to Store Homemade Buttermilk Biscuits
Storage for these homemade buttermilk biscuits is easy. Store in an airtight container or Ziploc bag on the counter for up to 3 days or in the refrigerator for up to 7 days. My boys like to put them in the microwave for 5-10 seconds to warm them up before eating them. It tastes just like they came straight out of the oven.
Biscuits and Sausage Gravy Recipe
If you’re looking for the best biscuits and sausage gravy recipe, try my homemade recipe! It’s sure to please the breakfast lovers in your life.
Try More of My Easy Recipes
Homemade Buttermilk Biscuits
Equipment
- cast iron skillet or baking sheet pan
Ingredients
- 3 cups all purpose flour
- 1 tsp salt
- 1 tsp baking soda
- 2 tsp baking powder
- 1 tbsp sugar
- 1/2 cup butter
- 1 1/4 cup buttermilk
Instructions
- Preheat oven to 450 degrees F.
- In a mixing bowl, combine flour, baking soda, baking powder, and salt and mix well.
- Using a cheese grater, grate cold butter into the dry ingredients.
- Using a fork or pastry cutter, work the butter into the dry ingredients until the butter is well incorporated. It will look crumbly.
- Slowly pour the buttermilk into the dry ingredients a little at a time while whisking with a Danish dough whisk or fork. Mix until just incorporated.
- Generously flour an area on a flat surface to roll out the biscuit dough.
- Scrape the dough out of the mixing bowl and onto the floured surface.
- Lightly flour the top of the dough, then fold the dough in half. Gently repeat this process about 4-5 times. (This makes those delicious flaky layers. You do not want to over work the dough; it will cause your biscuits to be hard instead of light and fluffy.)
- Gently pat the dough down in a large circle until the dough is about 1/2" – 3/4" thick. (Do not use a rolling pin.)
- Using a biscuit cutter, cut out biscuits and place in the bottom of a greased cast iron skillet or baking sheet.
- Once all biscuits have been cut out and placed in the skillet or baking sheet, bake for approximately 8-10 minutes until the tops of the biscuits are golden brown.
- Remove from heat and let cool.
- Enjoy!





I had never made biscuits from scratch until now. What was I waiting for? This recipe was sooo easy. The photos that went along with the instructions were perfect to refer back to so I knew I was doing everything right. They were buttery, soft, and tasted amazing! Baking them in the cast iron skillet made all the difference. Can’t wait to try more of your recipes.